When it comes to installing heating, ventilation, air conditioning, or refrigeration (HVAC/R) systems, proper brazing and leak checking are critical steps that must not be overlooked. Whether you're a DIY enthusiast working on a project at home, a professional tradesperson, or an architect or designer overseeing a renovation or new build, understanding the key aspects of this process can help you ensure safety, efficiency, and long-term performance.
In this blog post, we’ll dive into best practices for brazing and leak checking pipework and fittings. These tips are particularly useful for installations that include copper piping or work with pressurised systems. Getting these steps right from the beginning means fewer problems down the line, less risk, and better system reliability.
What is Brazing and When Should You Use It?
Brazing is a metal-joining process that uses a filler metal, such as a silver alloy, to create a leak-tight connection between two metal surfaces—most commonly copper pipes. Unlike soldering, brazing involves higher temperatures (above 450°C) to melt the filler, allowing it to flow into the joint via capillary action and bond the metals as it cools.
Brazing is preferred in HVAC/R systems because it creates strong, durable joints that can withstand temperature fluctuations and pressure changes. It’s also resistant to vibration and won’t leak as easily as a soldered joint might when under stress. For UK professionals and DIYers alike, especially when working with refrigerant lines or high-pressure systems, brazing is the recommended jointing method.
It’s worth noting that while push-fit and press-fit fittings are gaining popularity for ease and speed in domestic plumbing, brazing is still the industry standard in commercial and specialist applications where strength and air-tightness are paramount.
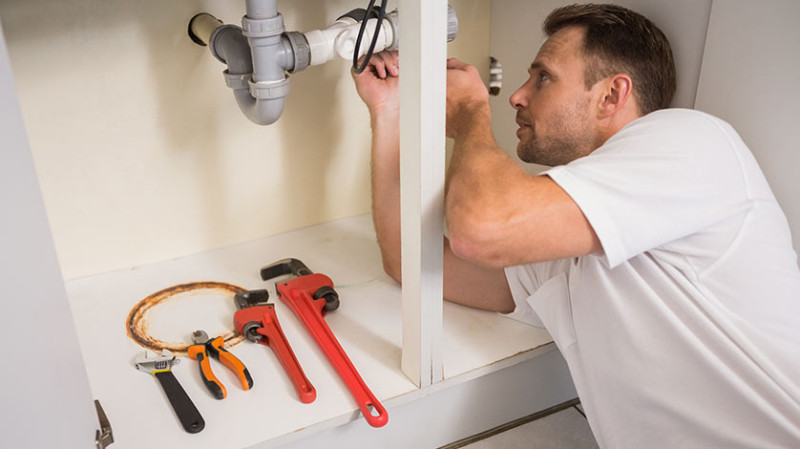
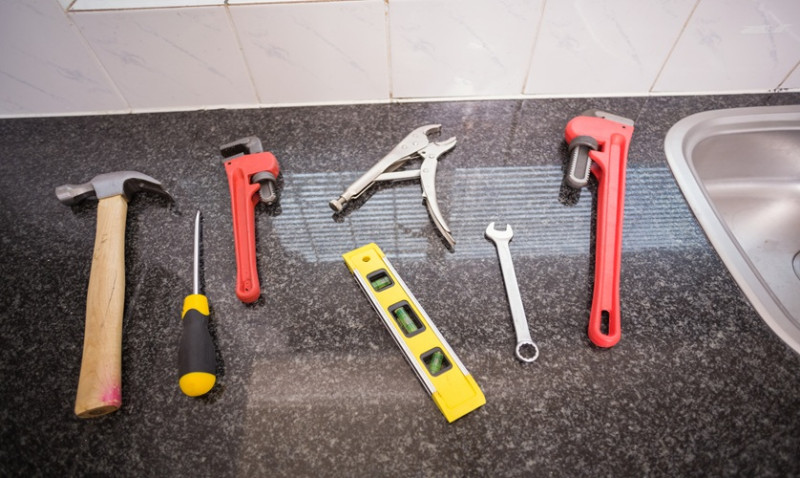
Key Tools and Safety Gear for Brazing
Before beginning any brazing project, it’s essential to assemble the correct tools and personal protective equipment (PPE). Working with high temperatures brings obvious risks, and safety should always come first.
Here’s a quick list of brazing tools and safety essentials:
- Oxy-acetylene or MAP-Pro torch kit
- Brazing rods (commonly containing copper, phosphorus, or silver alloy)
- Heat-resistant gloves
- Welding goggles or face shield
- Fire-resistant mat (especially if working near combustible surfaces)
- Pipe cutter and reamer
- Wire brush or emery cloth for cleaning alloys
Using the right torch and filler material is also crucial. Silver brazing rods work best for HVAC applications, offering excellent flow and high strength. If you're a beginner, always follow manufacturer guidelines for the torch system and filler you’re using.
Brazing Best Practices
Preparation is everything. Always clean the surfaces of the pipe and fitting thoroughly using a wire brush or emery cloth. Any scale, oxidation, or oil residue can result in a poor-quality joint or even leaks. Taking a bit of extra time to prepare can save major repair work later.
Once cleaned, make sure all components fit well together. A good mechanical fit enhances the capillary action needed for the brazing filler metal to flow evenly through the joint. Avoid gaps that are too wide or too tight; the ideal clearance is around 0.05 to 0.15 mm.
When heating the joint, move the flame back and forth to distribute heat evenly. Always aim to heat the parts being joined rather than the filler rod itself. This promotes better flow and ensures the alloy fully penetrates the gap. As the metal heats, touch the filler rod to the joint—if it melts and flows smoothly, you’re at the right temperature.
Avoid overheating as this can oxidise the copper and compromise joint integrity. Once the joint is fully brazed, allow it to cool naturally and avoid quenching with water, as this can introduce cracks or stress points.
Leak Checking: Why It’s Crucial
After all the hard work brazing comes perhaps the most critical step—checking for leaks. Undetected leaks can result in system shutdowns, reduced performance, environmental harm (in refrigerant systems), and costly call-backs for tradespeople. For both self-installers and professionals alike, thorough leak testing is non-negotiable.
In the UK, regulations also require that HVAC systems using refrigerants meet certain standards for leak detection—under the F-Gas regulations, for example. Leak checking is not just good practice, it’s often a legal requirement.
Methods for Leak Testing
There are several ways you can test for leaks, varying in accuracy, cost, and complexity. Below is an overview of the common methods:
| Leak Testing Method | How it Works | Pros | Cons |
|---|---|---|---|
| Soap Bubble Test | Apply a soap solution to joints; bubbles indicate escaping gas | Low cost, simple | Not suitable for small leaks or hard-to-reach areas |
| Electronic Leak Detector | Detects refrigerant leaks with a sensor | Highly sensitive, reusable | More expensive upfront |
| Pressure Testing with Nitrogen | System is pressurized with dry nitrogen to test for pressure drops | Accurate and safe, ideal for refrigerant lines | Requires pressure gauge and nitrogen tank |
| Vacuum Hold Test | System is evacuated and monitored for vacuum retention | Common in refrigeration, very sensitive | Time-consuming and requires vacuum pump |
For most residential applications, a soap bubble test followed by electronic leak detection is usually sufficient. On commercial jobs, especially where refrigerants are involved, a nitrogen pressure test is strongly advised.
Best Practices for Leak Testing
Start by pressurising the system after brazing, ideally using dry nitrogen to avoid introducing moisture. Pressurise gradually to your target level (often around 20–25 bar for refrigerant systems) and monitor the pressure with a reliable gauge over a 24-hour period. No drop in pressure? You’re good to go.
Use a calibrated electronic leak detector to check connectors, brazed joints, and any areas that were modified. Move the detector slowly and methodically, allowing the sensor time to pick up trace gases. If a leak is detected, release pressure, rectify the joint, and repeat the test.
Never use oxygen for pressure testing, as this poses explosive risk when combined with oils or brazing residues. Stick to nitrogen or air specifically designed for pressure testing applications.
Final Thoughts for UK Users
Installing HVAC or plumbing systems in the UK comes with its own set of building codes, safety regulations, and weather-related conditions. Moisture in the air, variable temperatures, and building layouts in older properties all play a role in system performance. Correct brazing and leak detection techniques help mitigate these factors.
For those taking on complex installations themselves, ensure your work complies with the latest UK regulations, such as Part L of the Building Regulations or the F-Gas regulations for refrigeration systems. It’s always a good idea to consult a Gas Safe registered engineer or F-Gas certified professional for guidance if you’re unsure.
Whether you're designing a sleek new kitchen, renovating a Victorian terrace, or installing a new split AC system, mastering brazing and leak checking can save both time and money—while ensuring a safe, efficient, and long-lasting installation.
Looking for tools, materials, or certified specialists? Our team works with both homeowners and professionals across the UK. Drop us a message or browse our catalogue today to find everything you need to complete your next project with confidence.
Trending articles